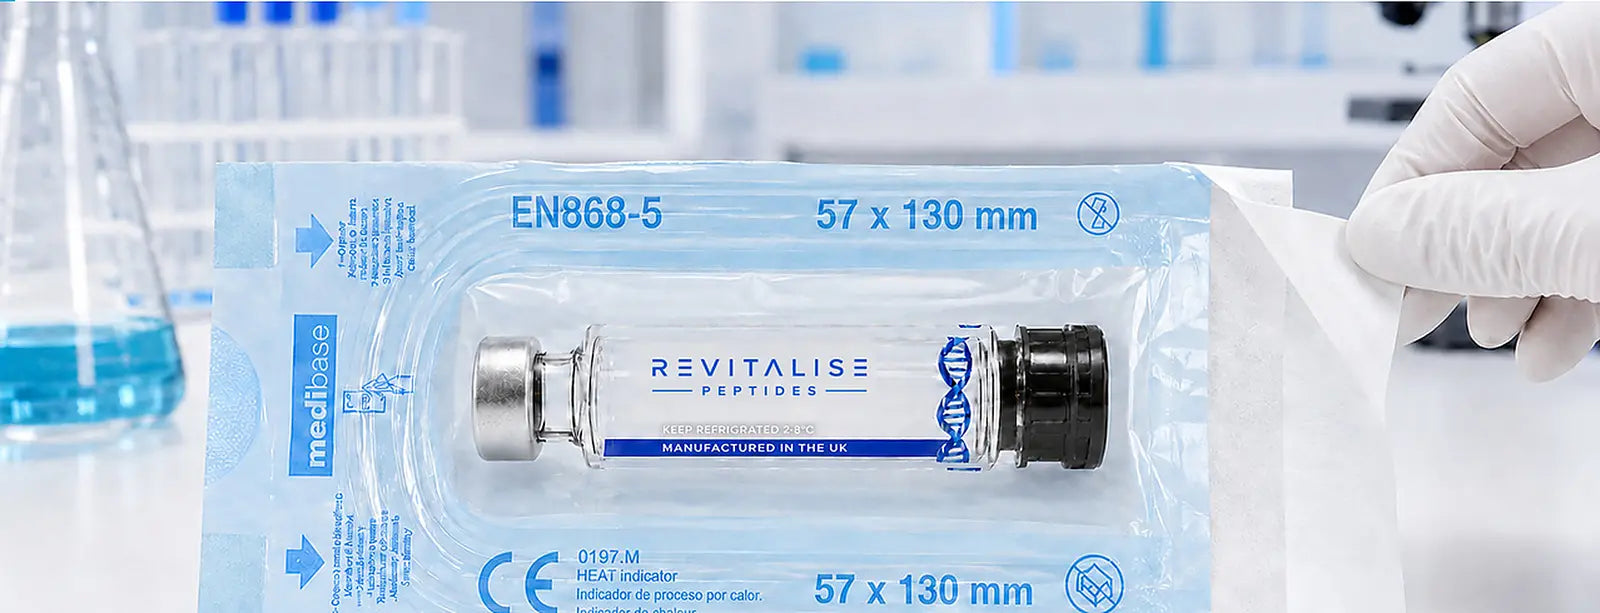
STEP 01
Open the sealed cartridge pouch
Peel the white strip back from the far right-hand end and keep the refill inside the sterile field until loading.

Currency GBP £
INTERCHANGEABLE 3 ML CARTRIDGE SYSTEM
Full HD guidance for loading, priming and operating the reusable 3 mL cartridge pen, including the 30 mg / 3 mL dial conversion in both mL and mg.

PREPARATION AND USE
Follow the corrected Full HD video and approved imagery together.
Peel the white strip back from the far right-hand end and keep the refill inside the sterile field until loading.

Pull the long matching white lid straight off and keep it nearby.
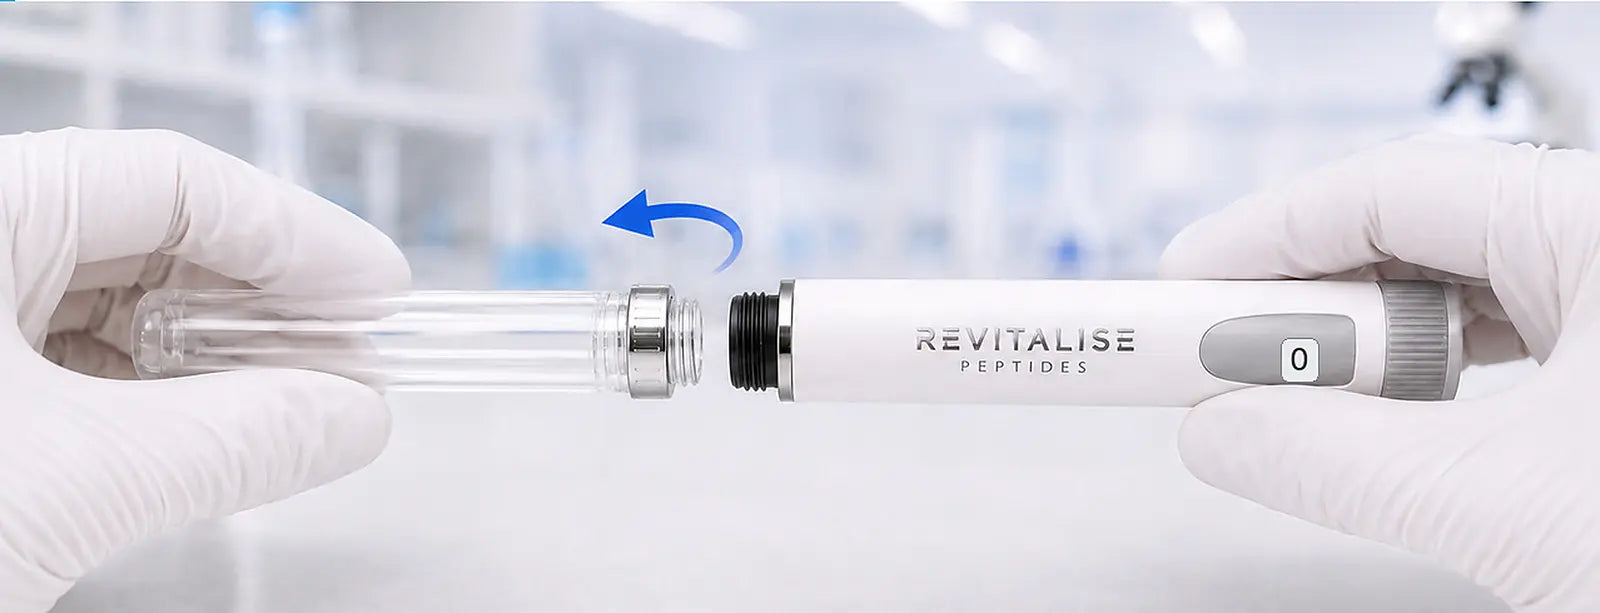
Hold the pen body steady and turn the empty chrome-ended carrier anticlockwise.
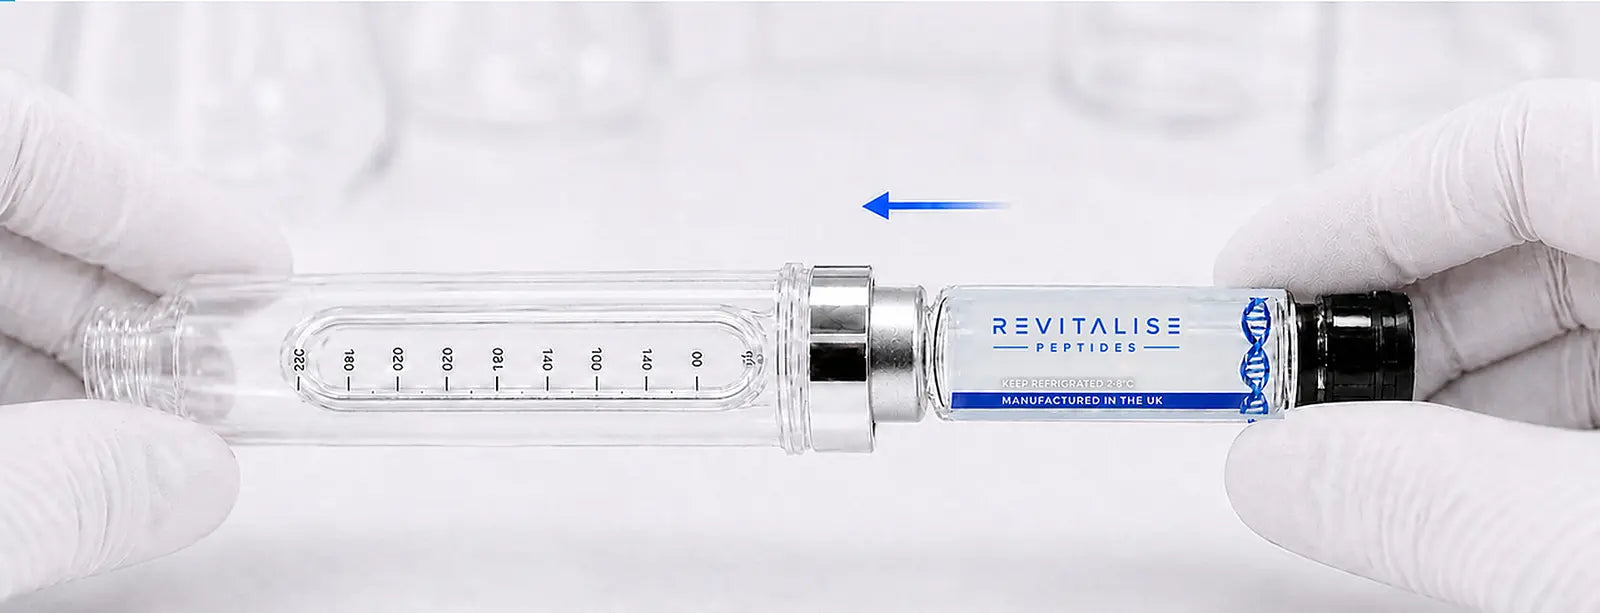
Insert the silver capped end first. The black rubber plunger enters last.
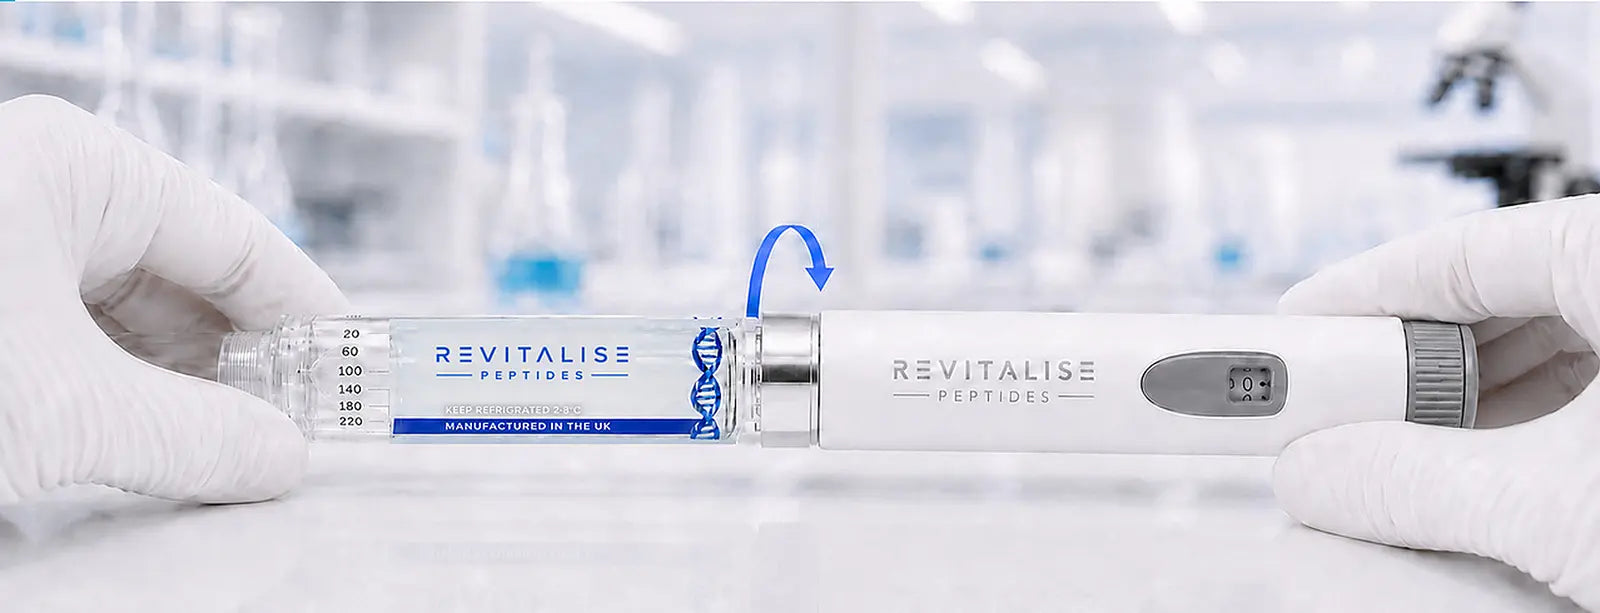
Screw the chrome-ended carrier clockwise onto the pen until it sits straight, flush and secure.
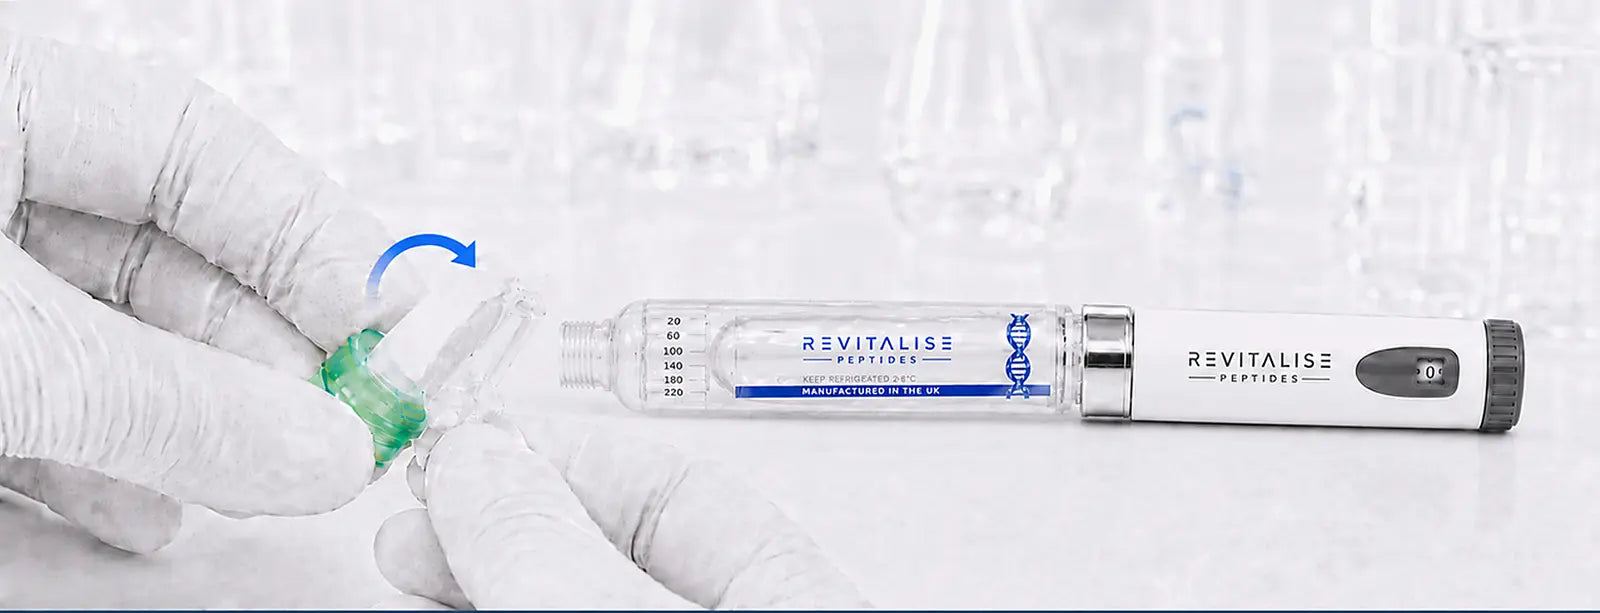
Peel off the protective seal completely. Use a new sterile 32G 4 mm needle.
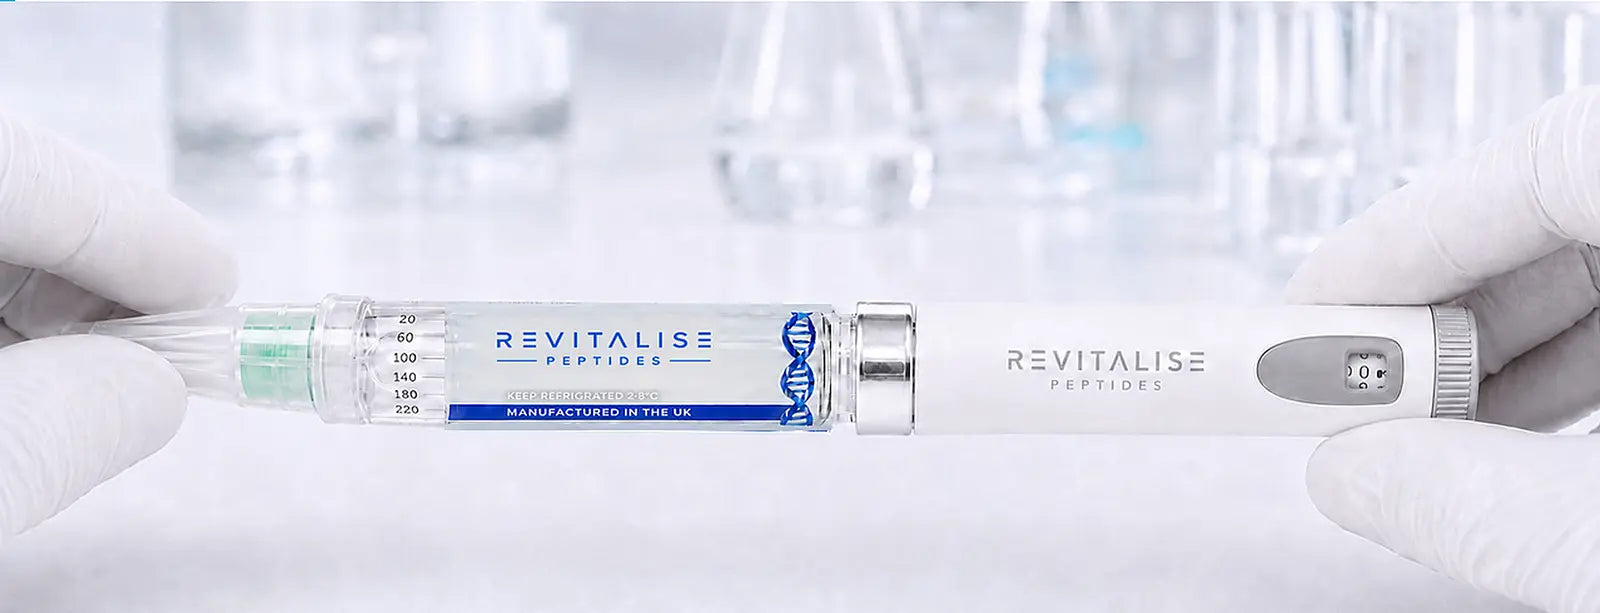
Grip the large clear outer cap and screw the green hub flush onto the threaded carrier end.
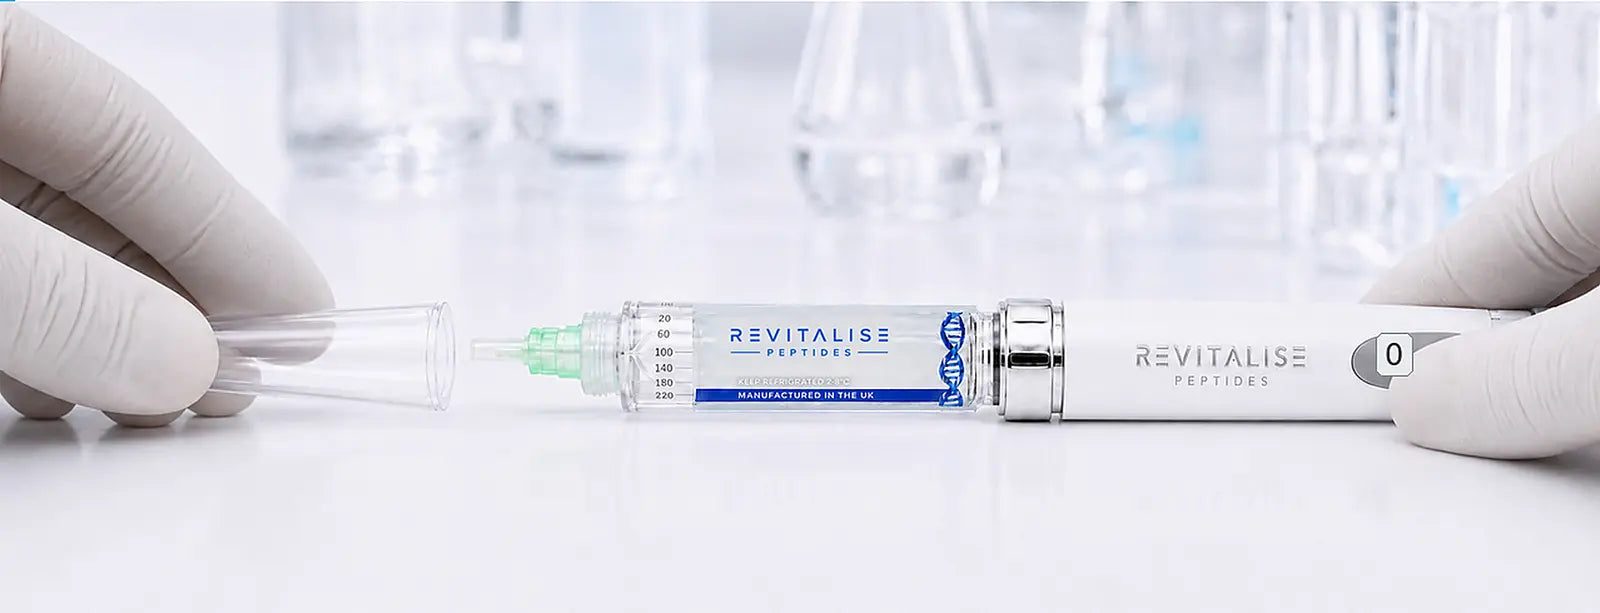
Pull the large clear tapered cap straight off and keep it for safe needle removal.
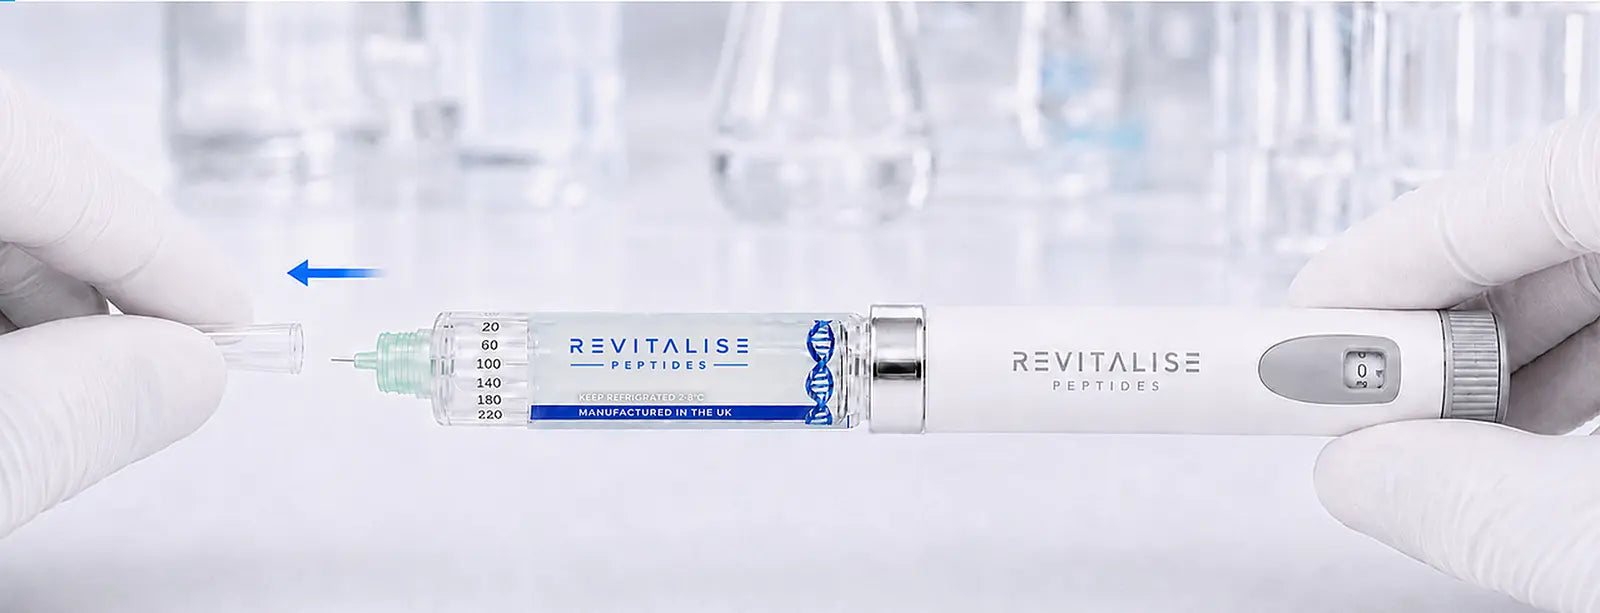
Pull the short translucent inner cap off without touching the exposed needle.
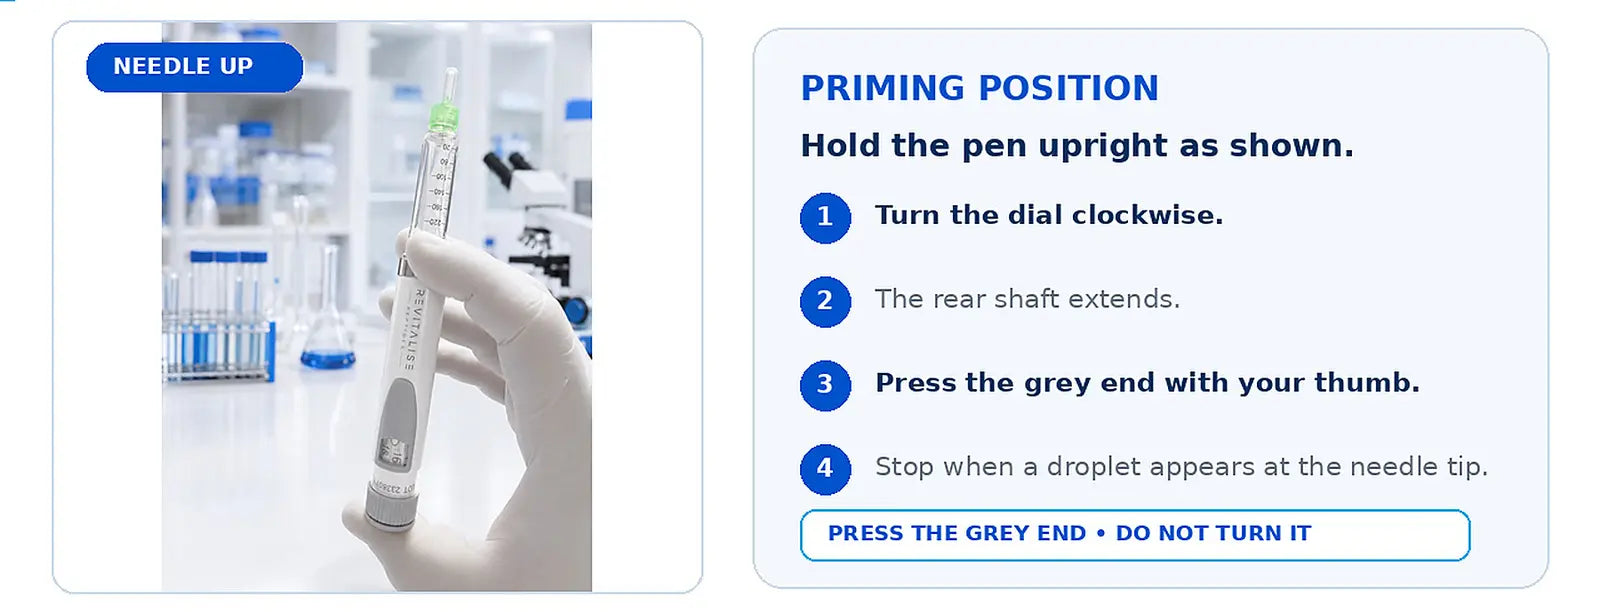
Hold the pen upright, turn the dial clockwise, then press the extended grey end fully until one droplet appears.
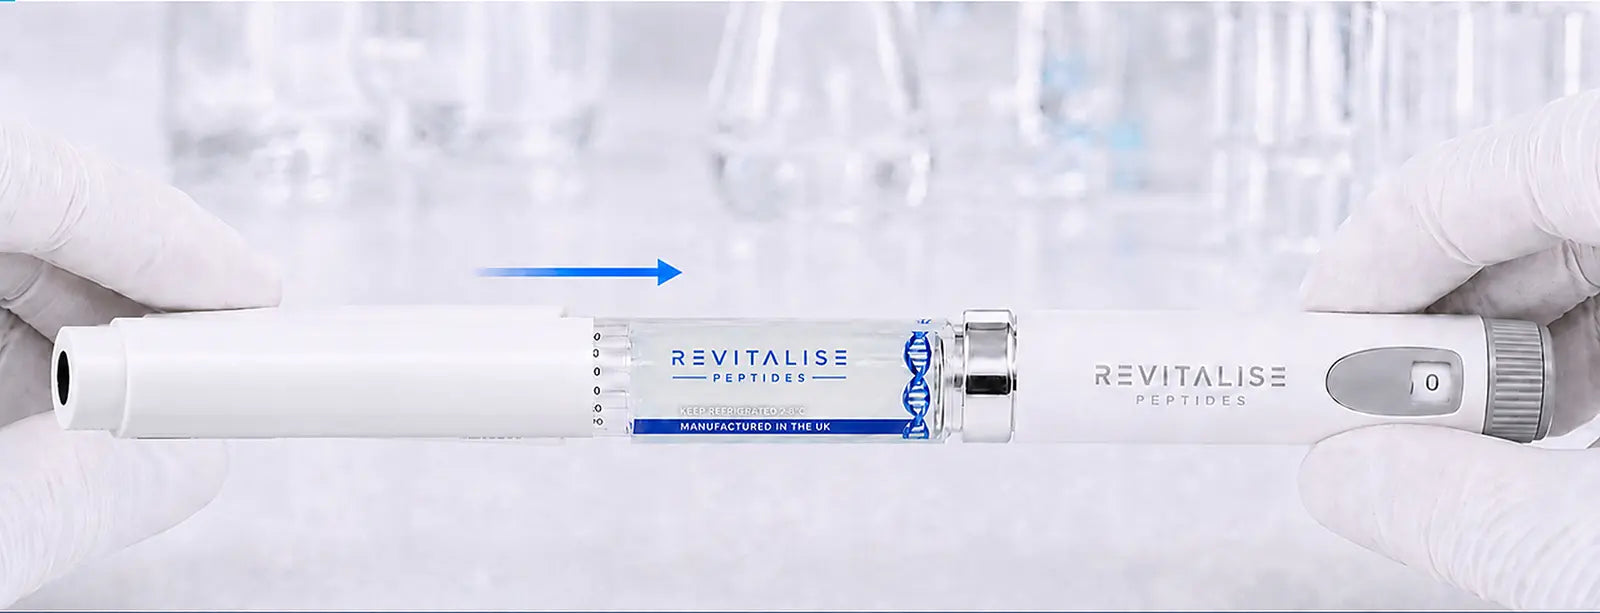
Push the original matching white safety lid fully over the carrier and fitted needle.

After the droplet appears, rotate the dial anticlockwise until the counter reads 0.
Let S be the total cartridge amount in mg, V the total cartridge volume in mL, D the dial units and A the represented amount in mg.
C = S ÷ V mg/mL. Each dial unit represents 0.01 mL, so A = D × C × 0.01 mg.
For a 3 mL cartridge: A = D × S ÷ 300 mg. To convert a pre-specified laboratory amount into dial units: D = A × 300 ÷ S.
Conversion only. This equation does not choose or recommend a human dose. Research use only; not for human or veterinary use. Do not improvise or round dial values.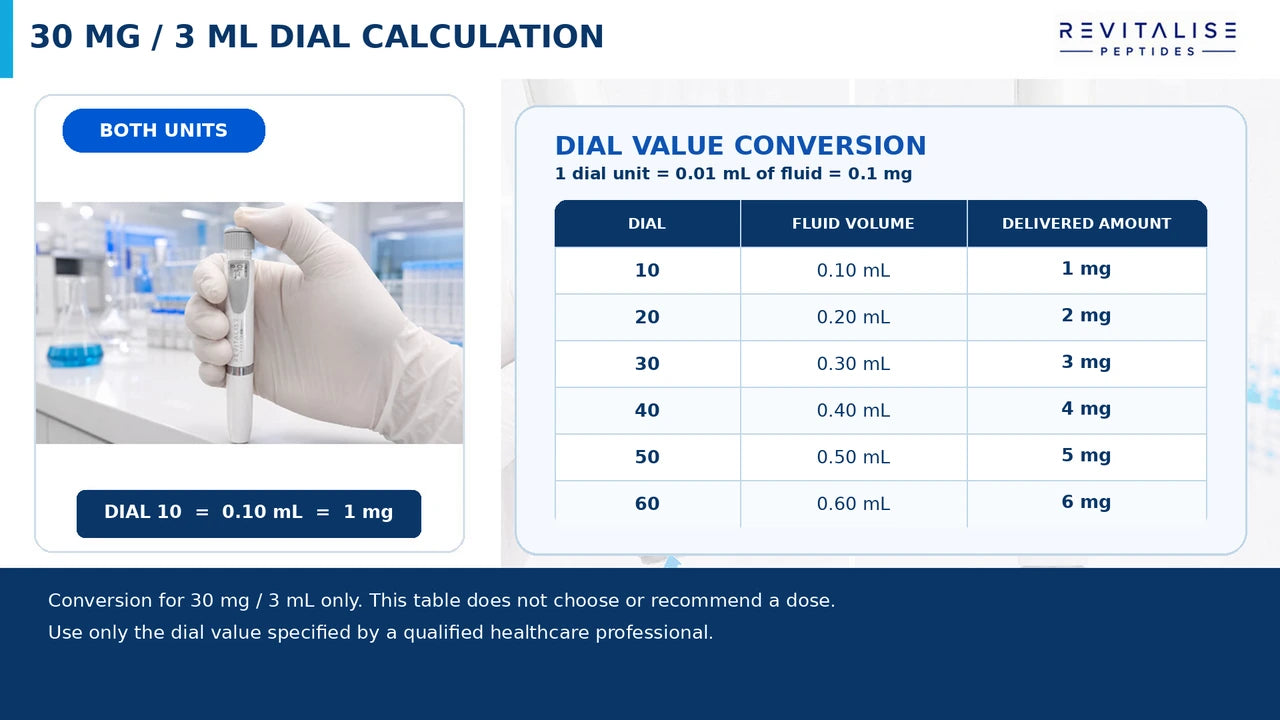
Here, C = 30 ÷ 3 = 10 mg/mL. Each dial unit represents 0.01 mL, so one unit represents 0.1 mg. This table converts dial values; it does not choose or recommend a human dose.
Research use only. Apply the formula only to a pre-specified laboratory amount and verify the cartridge strength and total volume first.
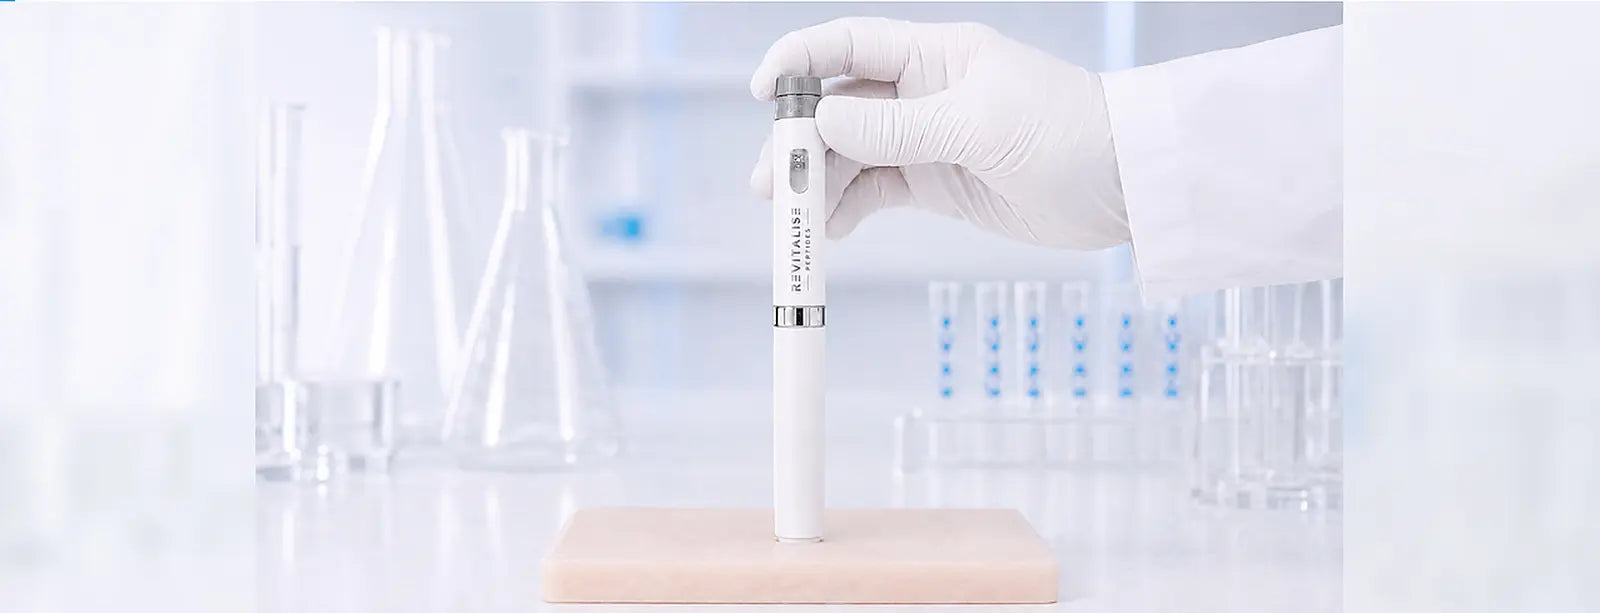
Press the full-length pen vertically against the silicone training pad and press the grey end fully.
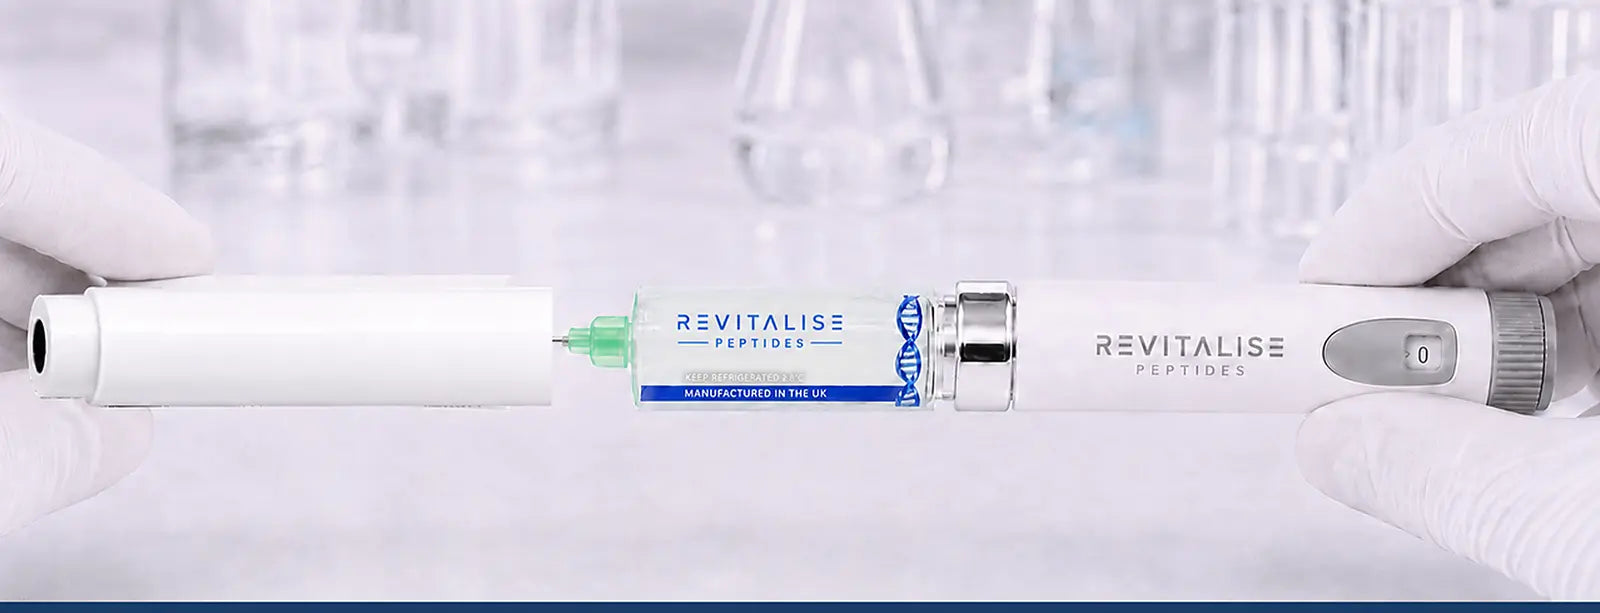
After the demonstration, pull the spring-loaded safety lid straight off.

Guide the kept large clear tapered cap over the needle without touching it.

Unscrew the fully capped green needle directly into an approved sharps container.
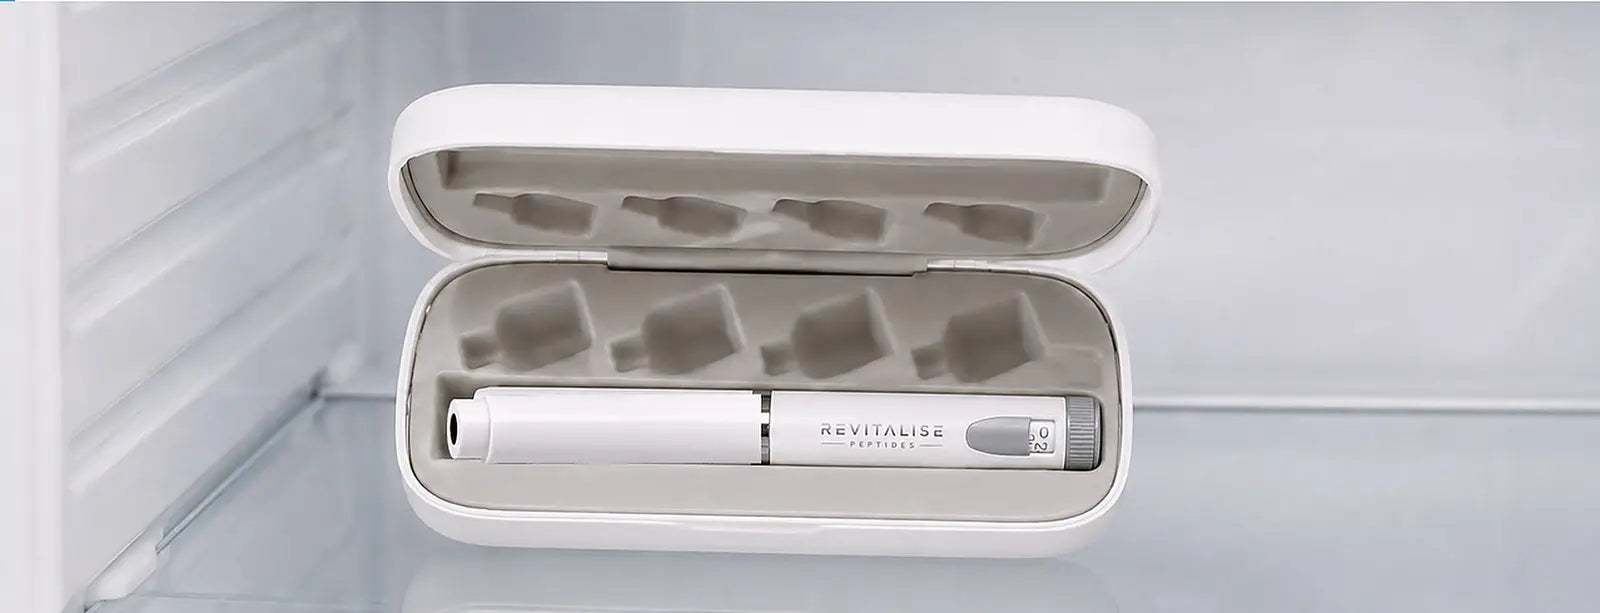
Fit the white lid, place the complete pen in the open Revitalise case and position it inside the refrigerator.
STORAGE
Store the complete pen in its closed protective case between 2°C and 8°C. The optimal temperature is 4°C. Do not freeze.
